

Sanding was a bit of a nightmare we bought in a belt sander and an orbital sander for the job (see above for Belt-Sand-Man in his superhero pose)
We split the work between the 2 of us, switching between sanding and childcare... the floor took us 3 days and it is a small room (which leaves us in doubt about doing any larger rooms on our own)
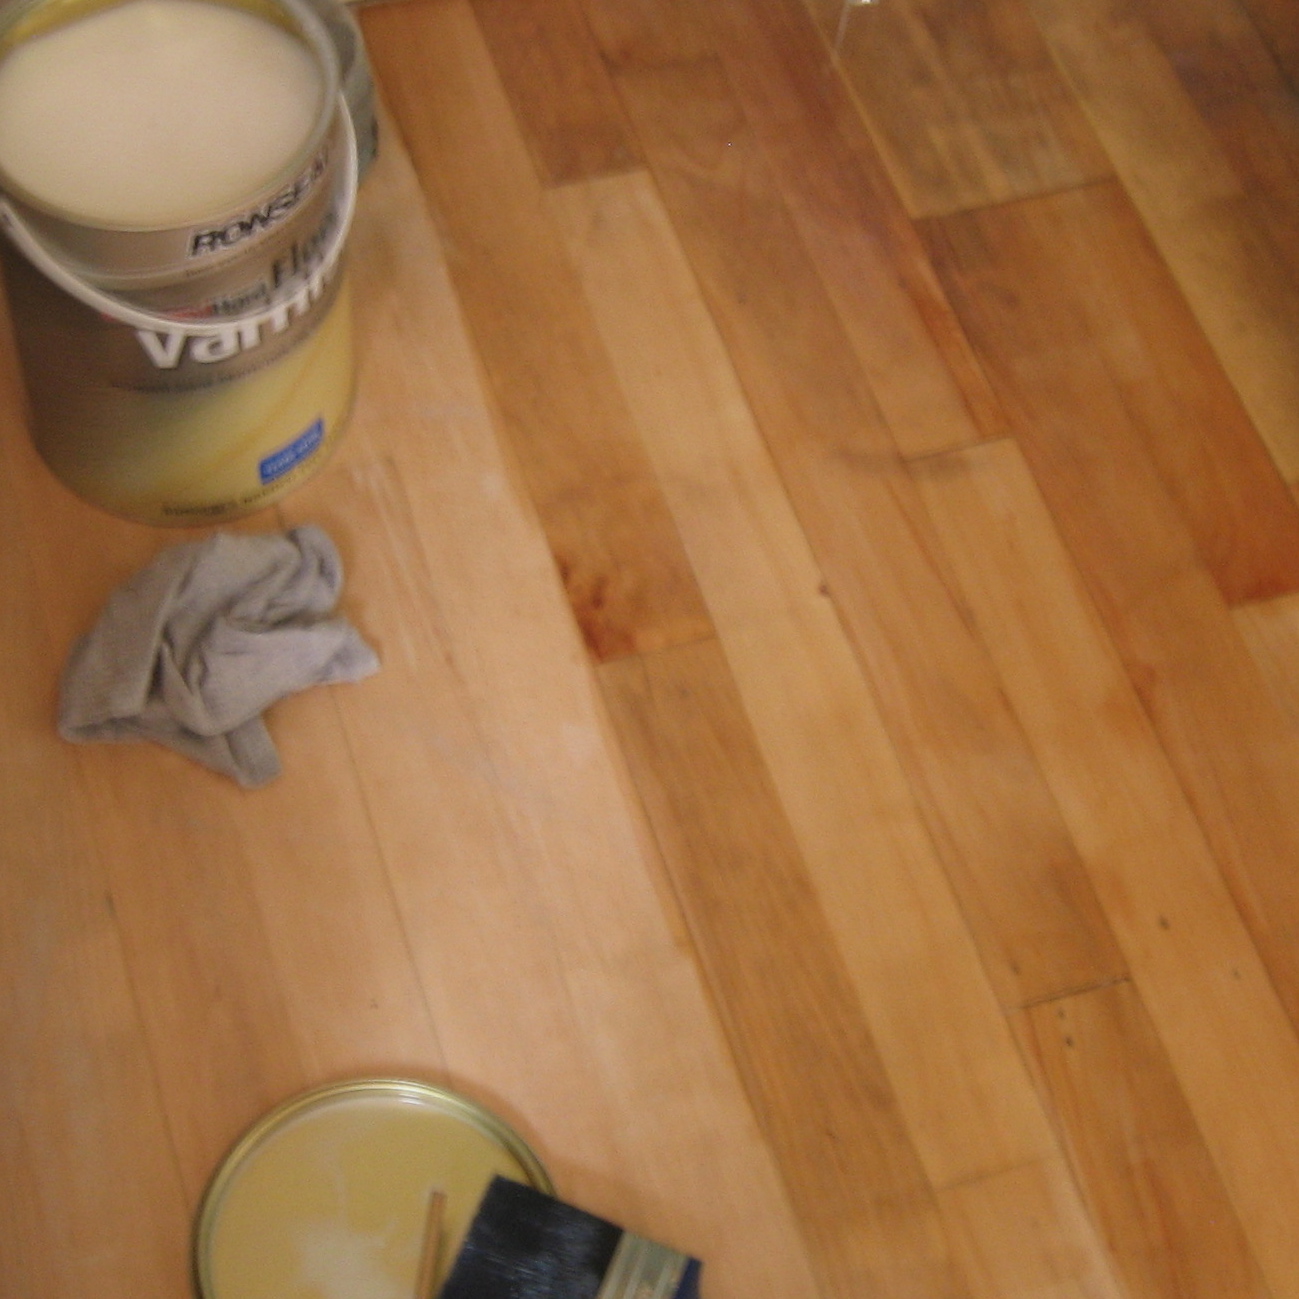
The actual varnishing of the floor only took 15 minutes....
But doesn't it look fab !?!

After the initial sanding you need to vacuum the floor and wipe the floor over with white spirit to clean up any residual dirt or sawdust, then you varnish it, leave it to dry, sand, wipe, varnish, sand, wipe, varnish.
You need sturdy knee pads and a good wide no loss paintbrush for this.
Before we left the house tonight I completed the third coat of varnish. (and the first coat on the neighboring utility room)
I'll probably give it one more coat once all the fixtures are in but I am really happy with how it has come out.
The Nitty Gritty -
- Reclaimed Junkers Beech Flooring
- Belt sander and Orbital 1/3 sheet sander from Wickes
- Varnish - Ronseal Diamond Hard floor varnish in clear satin
- Brush- Harris No-loss 3 inch brush
On the iPod -
- A little rocking out to The Hives on day 3 of sanding kept us going... oh and you'll need to turn it up REALLY LOUD TO HEAR IT OVER THE SANDER!
No comments :
Post a Comment
I love getting your comments, they really make my day! I try to respond when I can.
I moderate all comments to cut out the stinky spam. So please be patient if it hasn't popped up immediately.
If you ask a question remember to check back for an answer later.
Thank-you, you wonderful peeps!