
 |
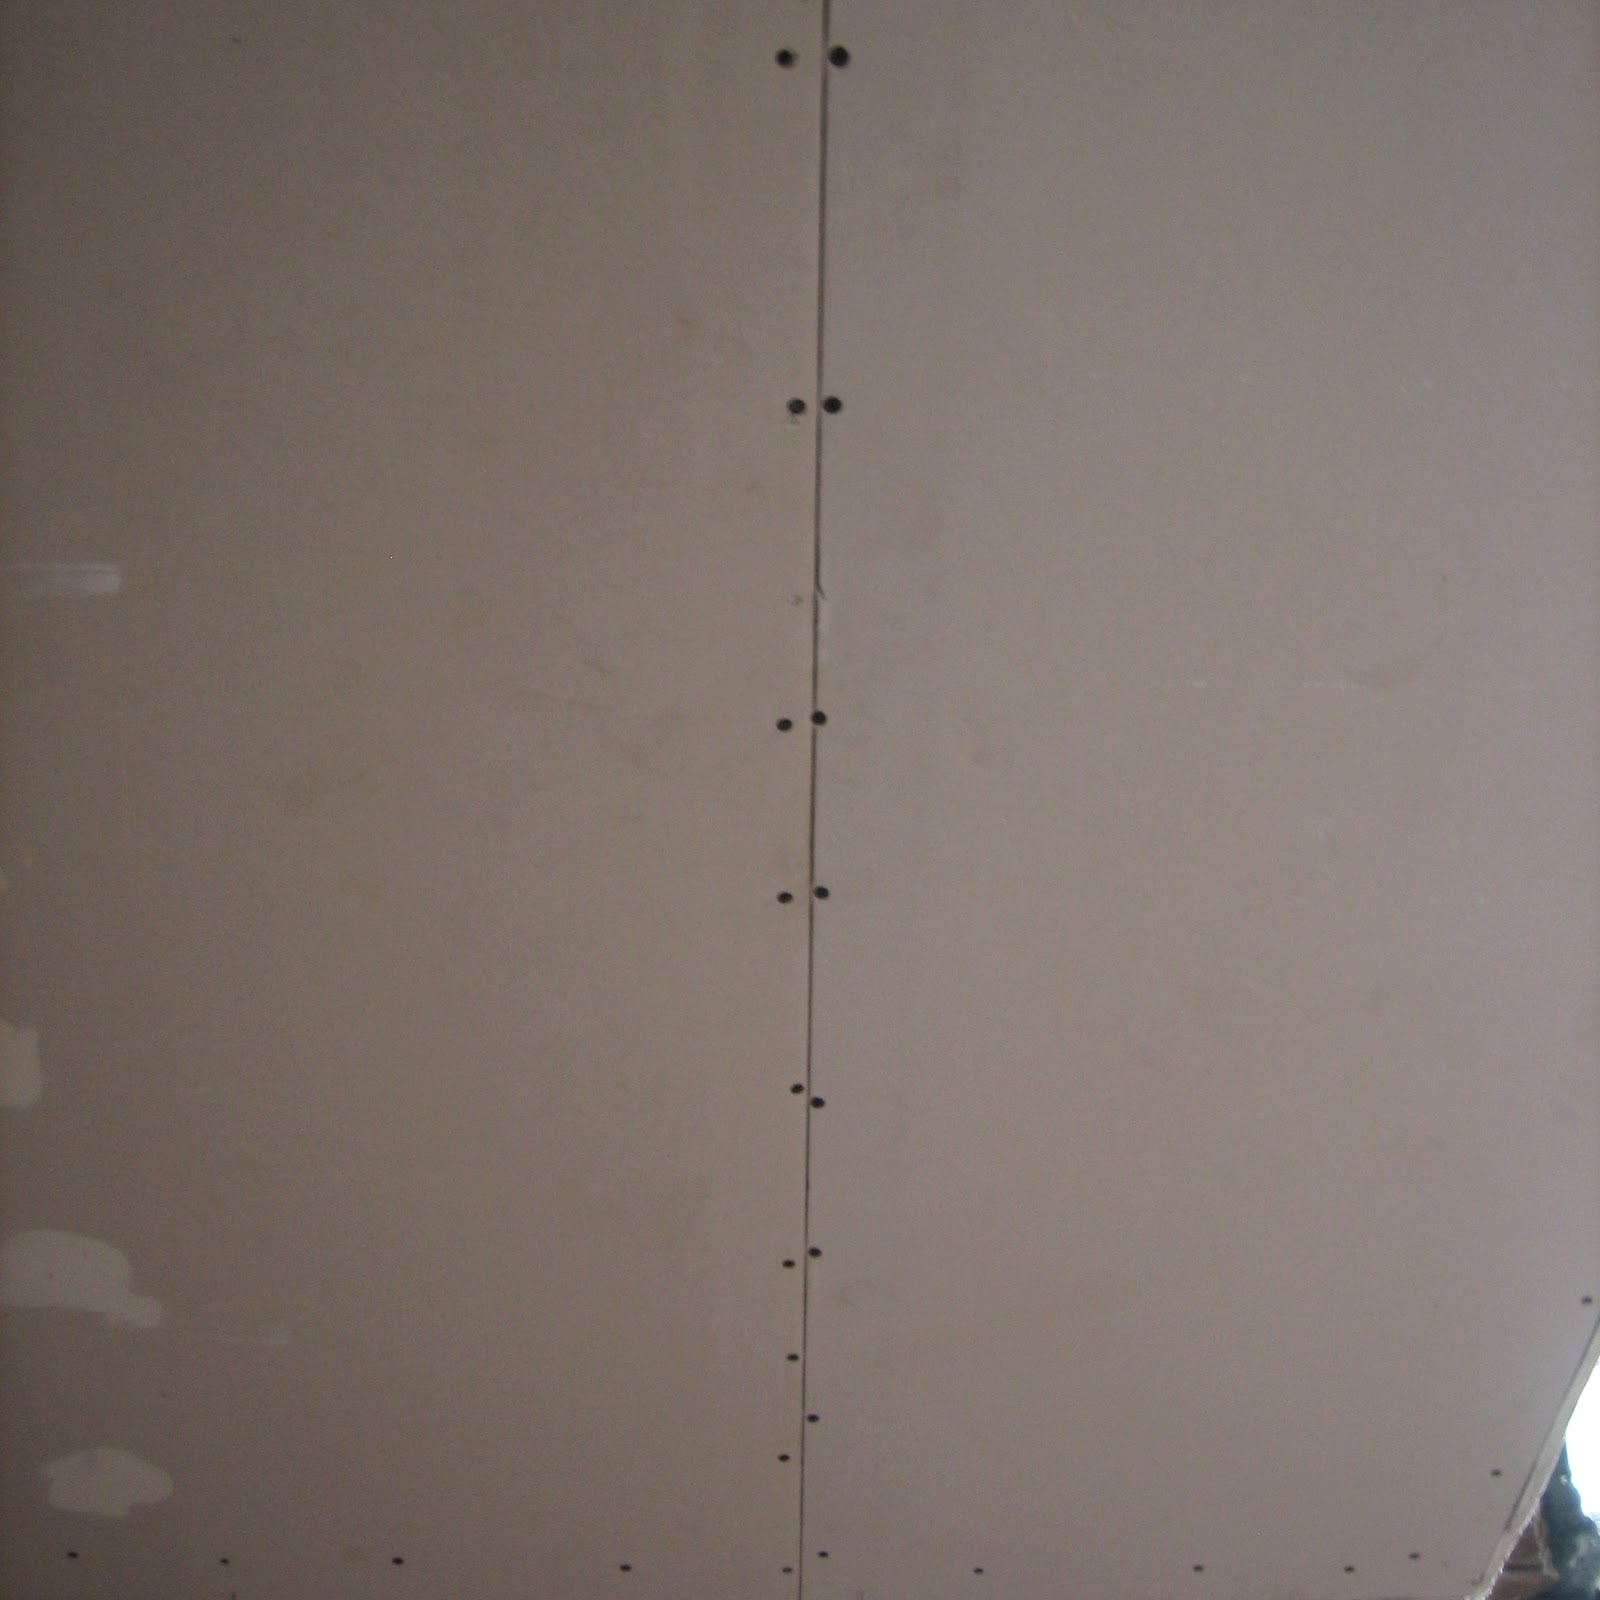
| Plasterboard butt joint |
So your plasterboard goes up in these lovely big clean rectangular sheets
*Oooh, Loverly*
But between the sheets and in the corners, there will be gaps which need filled, which is done with a few thin layers of plaster and a length of paper tape. This provides a barrier to smoke and fire and creates a smooth surface for decorating.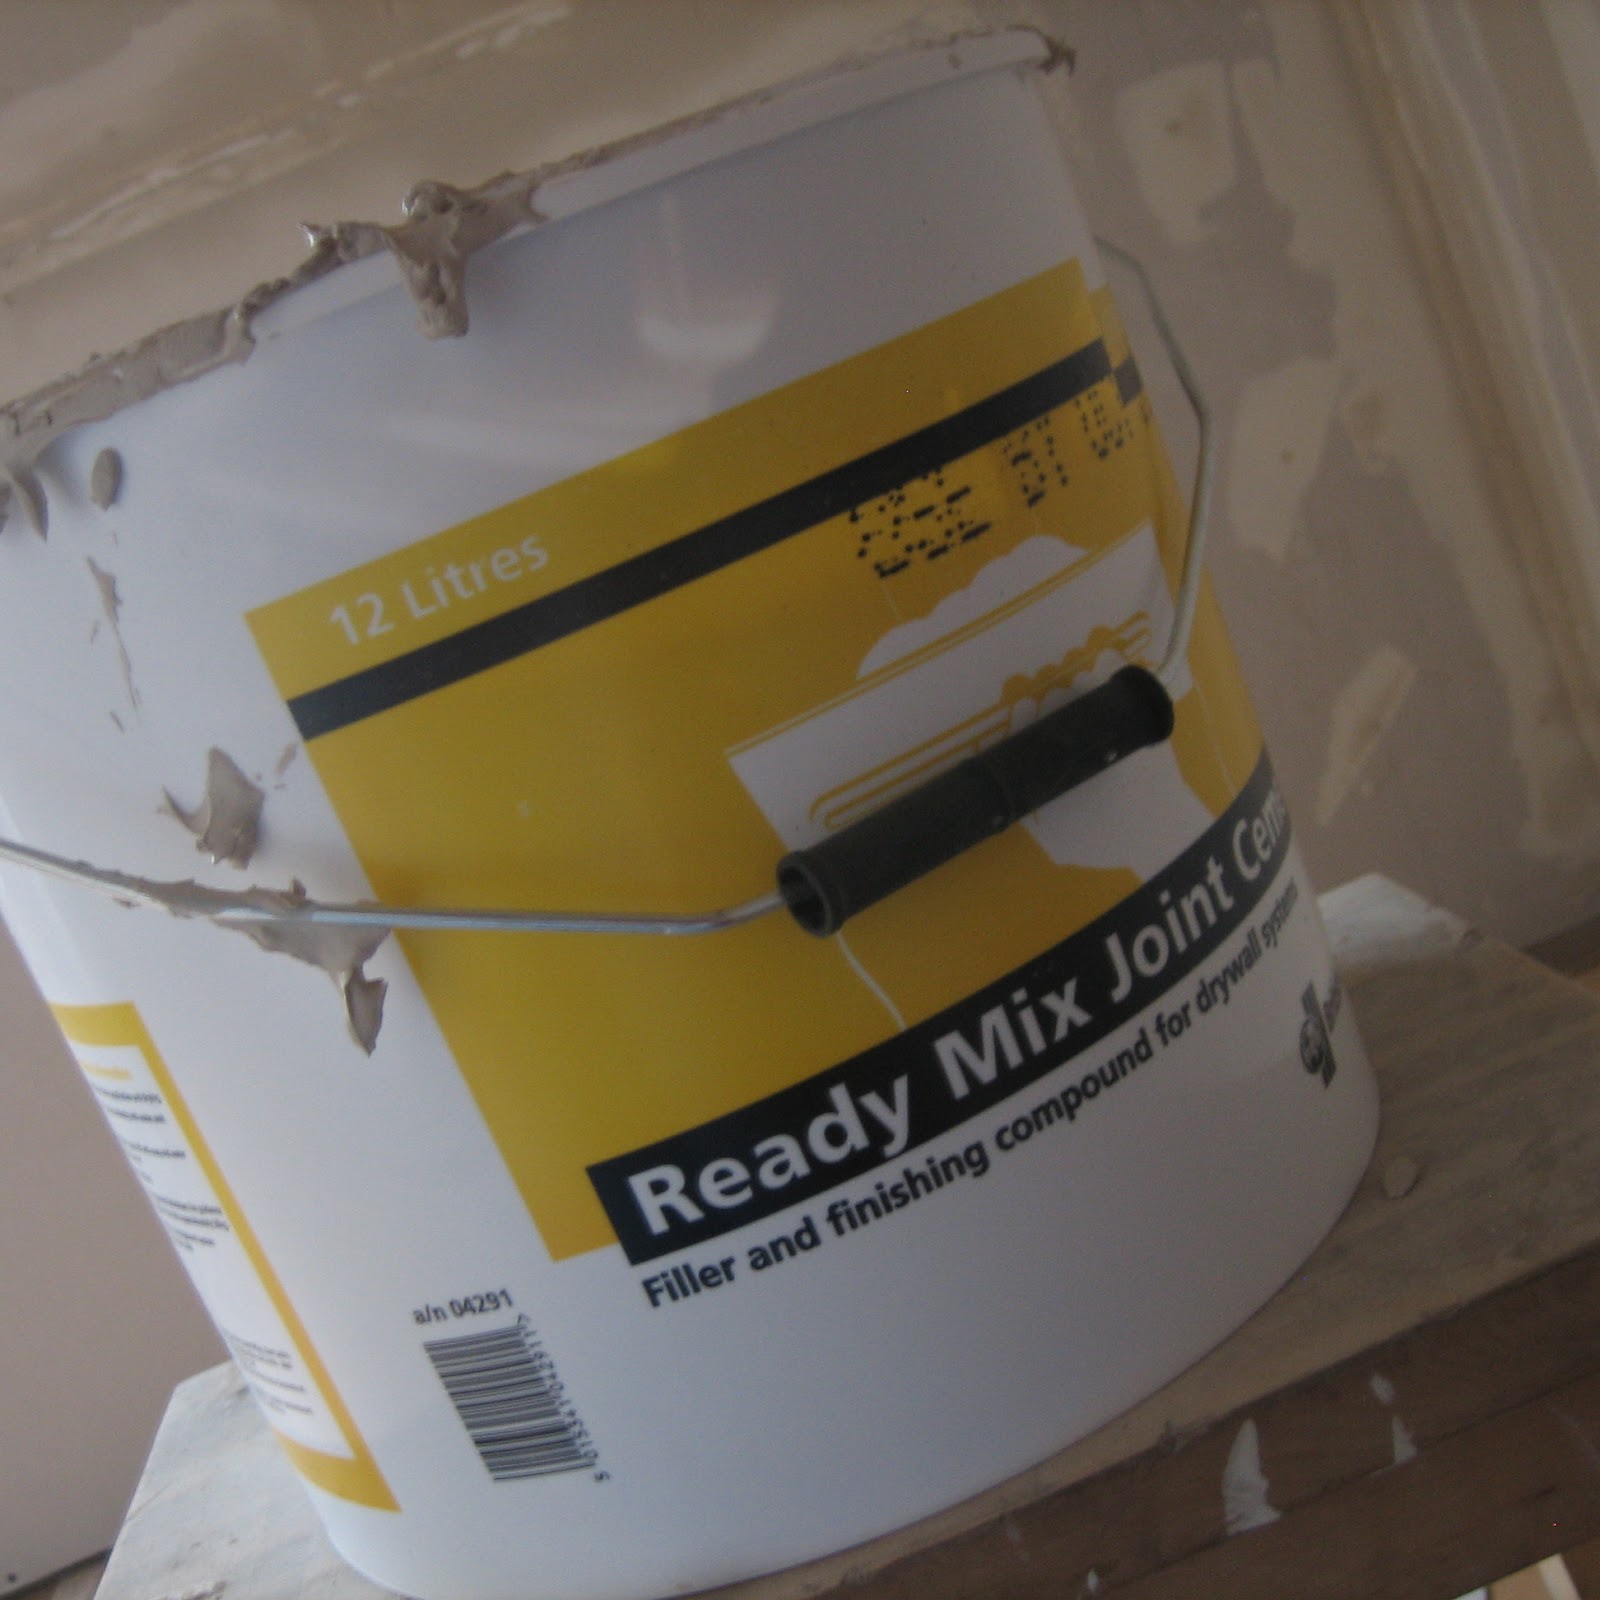 |
| big-tub-o joint filler |
... so that is taping.... what joy of joys....
It is a bit like spreading butter icing on a giant upside down cake.
I thought I might give you a little guide as to how to tape, should you ever need to... because (a) it isn't that hard and (b)it can cost hundreds to bring in the 'professionals'
So you'll start with a butted joint - this section I am doing is part of a coombed ceiling (sloped between the wall and ceiling - y'know, like in an attic)
 |
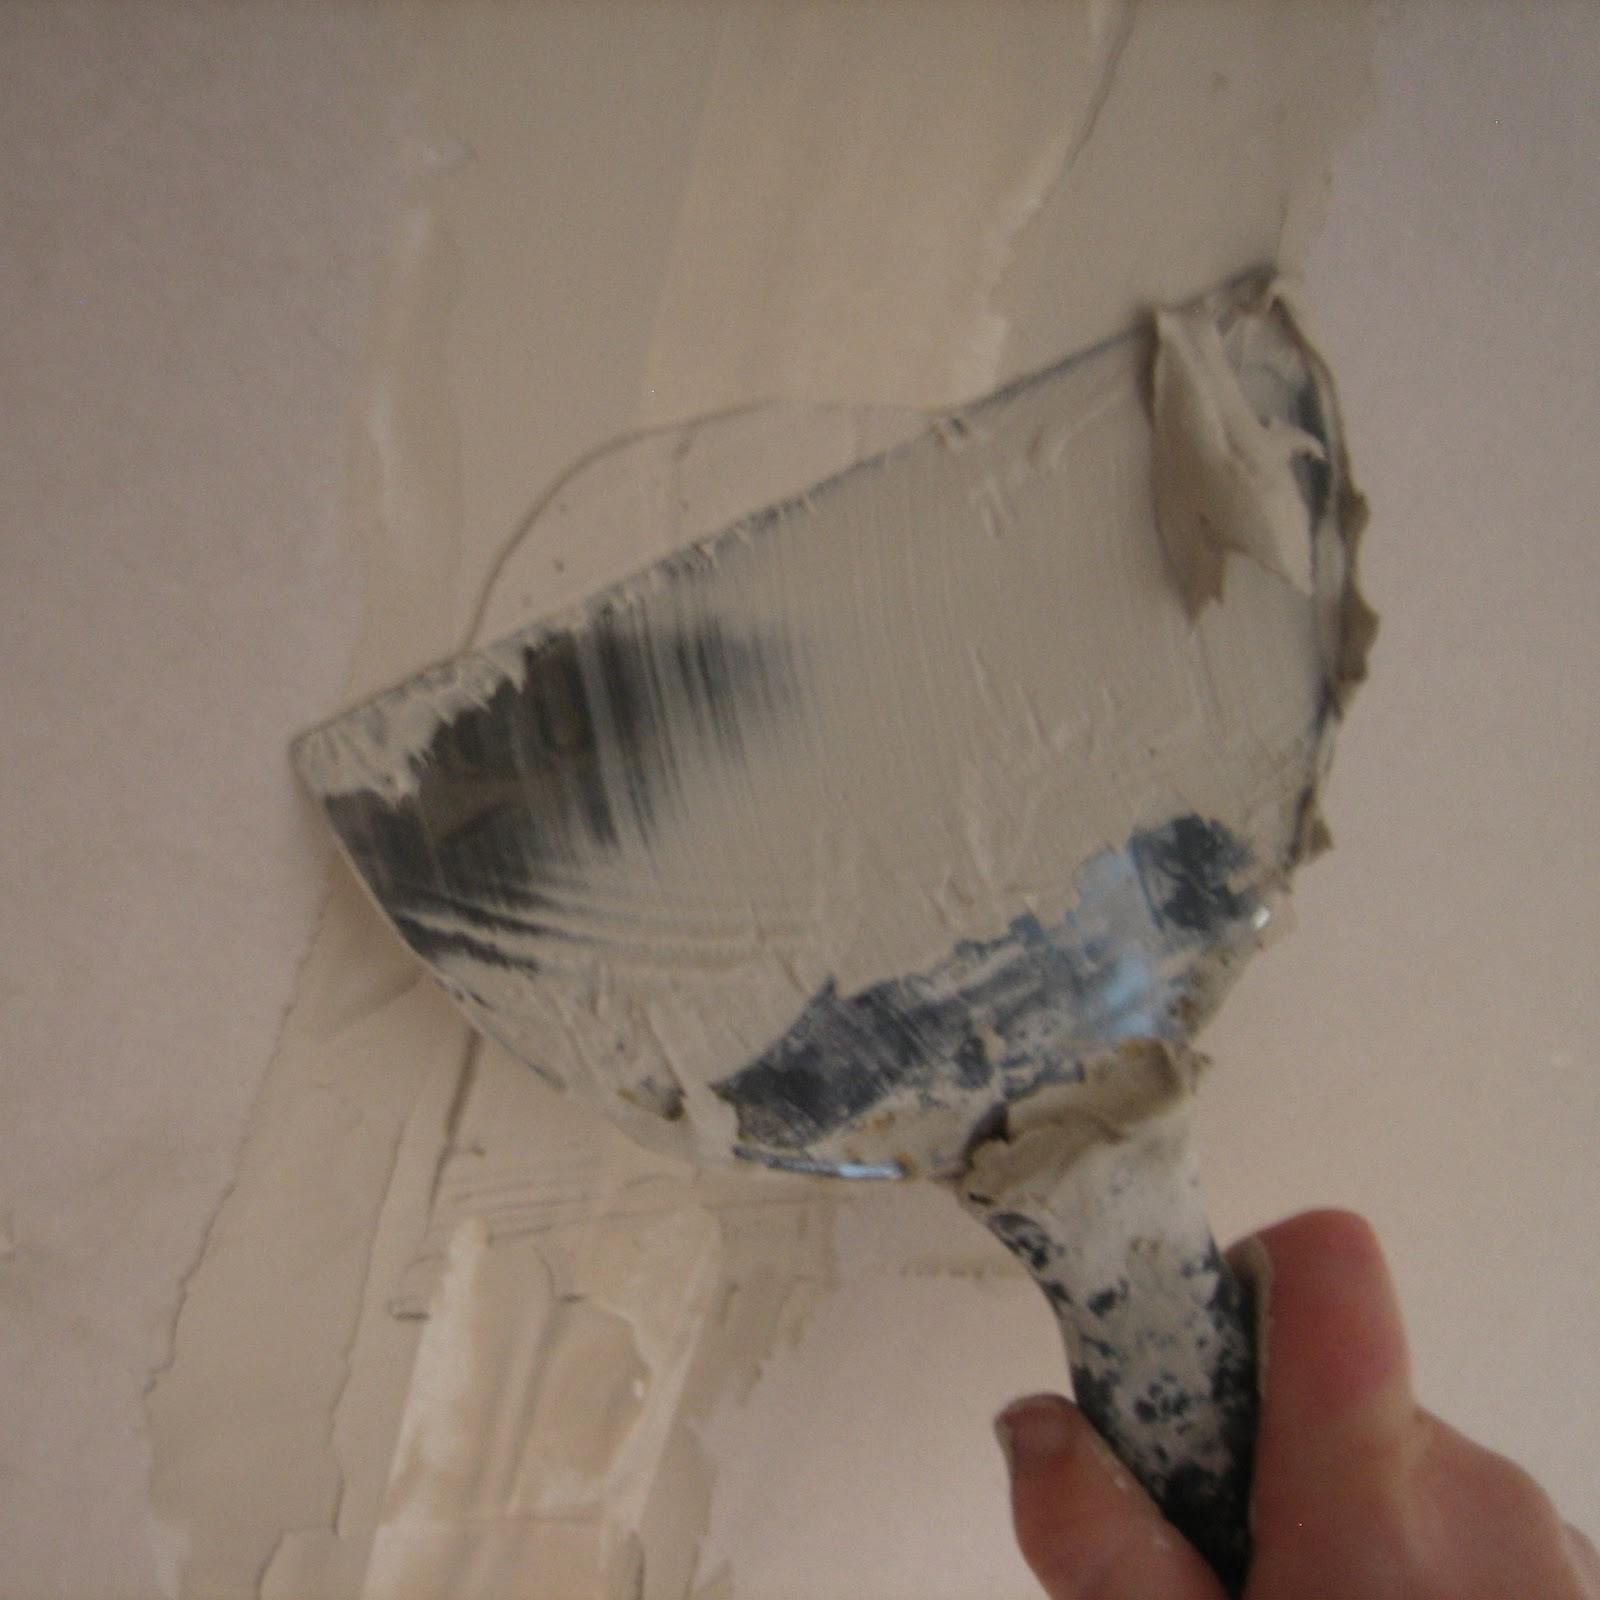
| 6 inch knife.... yes it is called a knife |
- Roll of paper tape
- 6 inch filling/taping knife (looks like a wall paper scraper but has more bendiness)
- 3 inch filling/taping knife
- Some joint filler, in the USA they call it mud.... which is quite apt.
 |
| Splodge |
Tear off a length of tape about the length of the joint being filled (no need to be neat, just rip it)
Starting at the top, line up your paper tape and push it into the mud, just a little, then 6 inches down push it into the mud again, and again every 6 inches or so (you don't want to smooth it on, right now you are just getting it to roughly stick in the right place
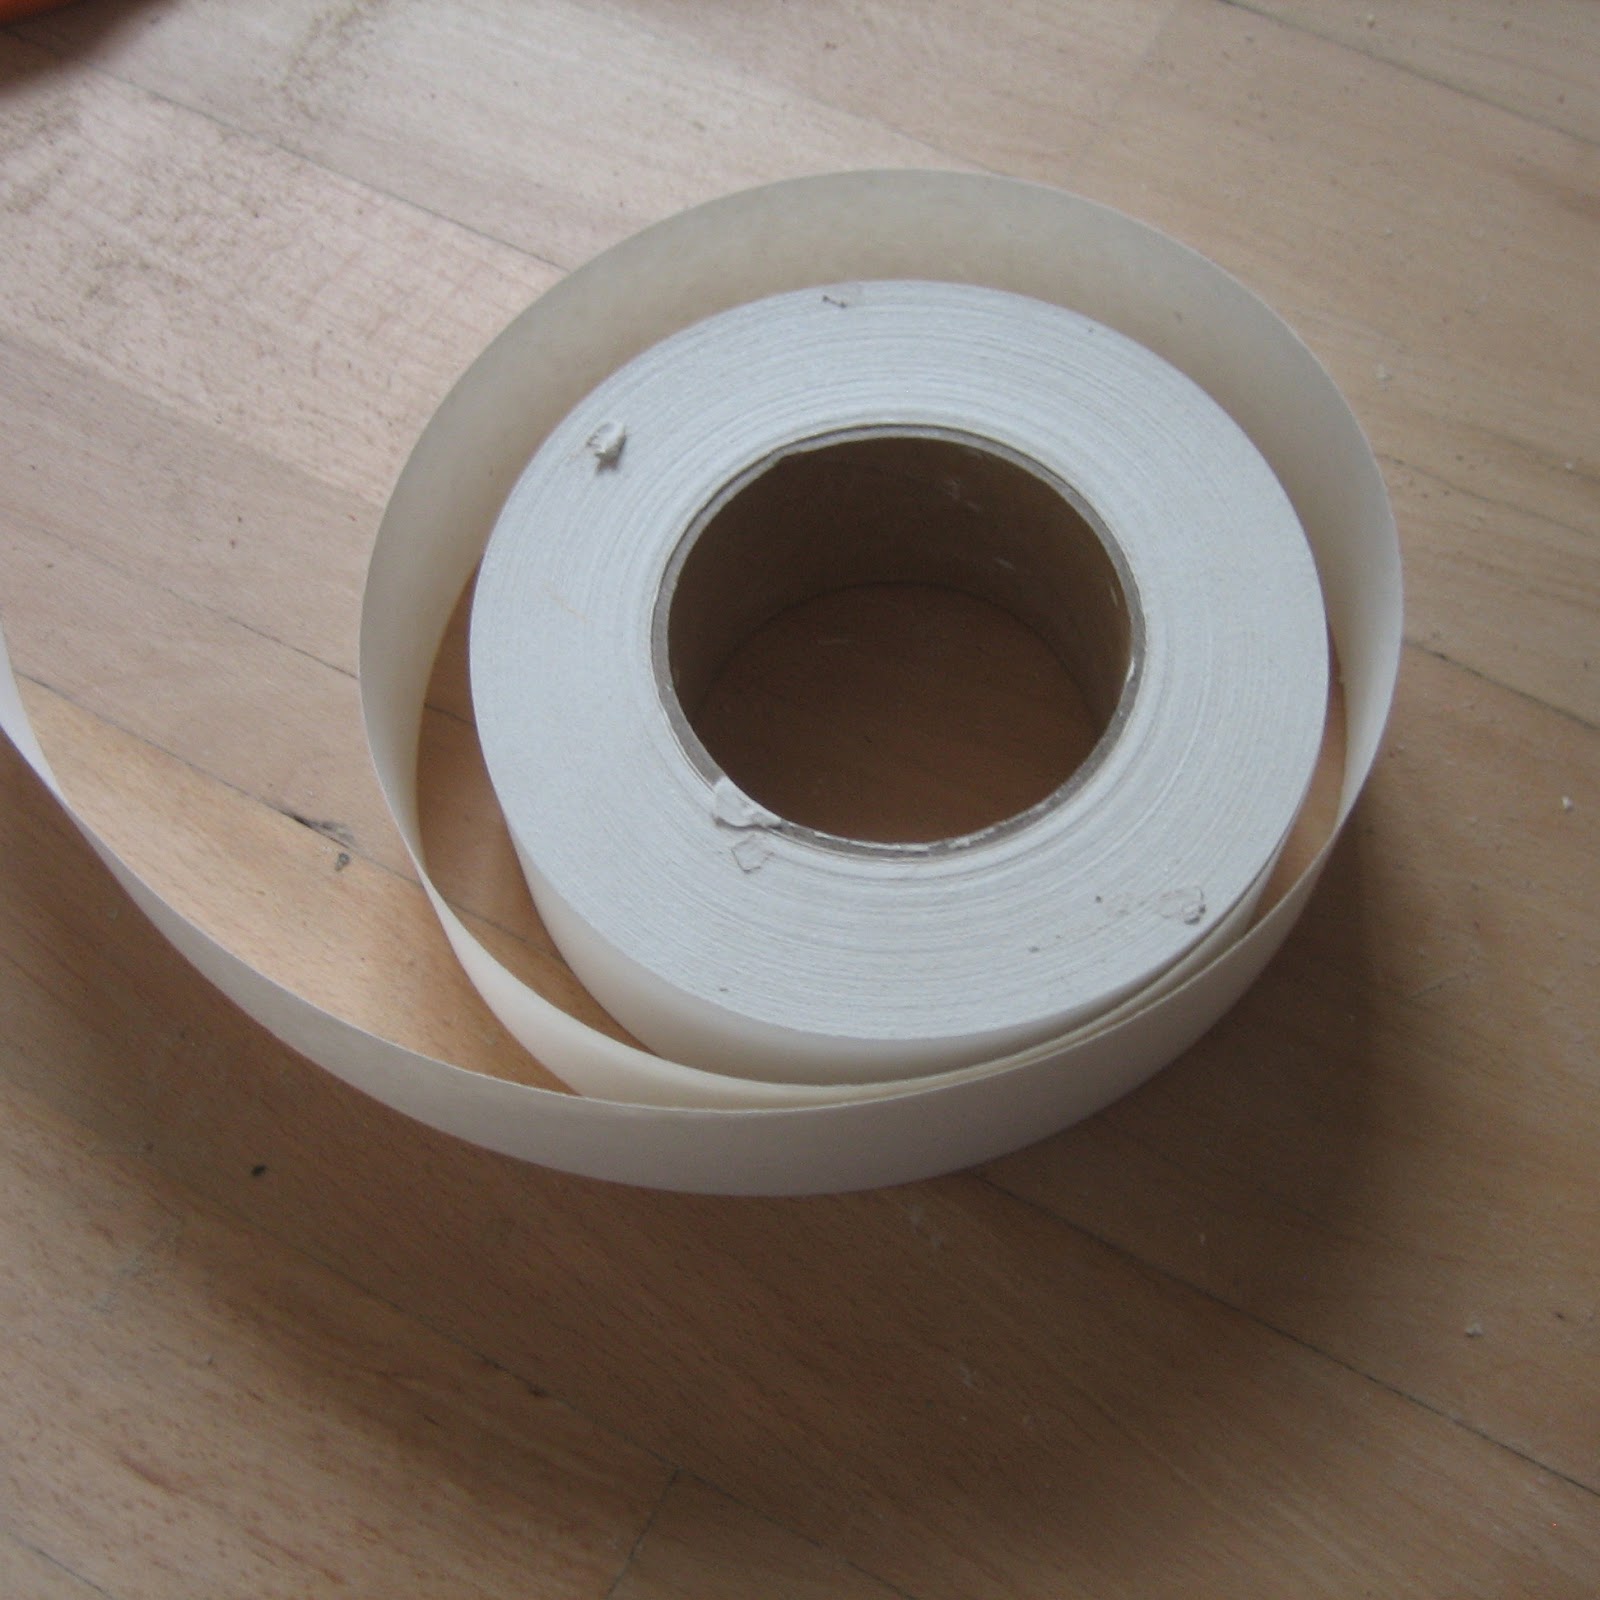 |
| Paper tape |
Then returning to that position (6 inches down from the ceiling) smooth the paper down the entire length of the gap.... As you go, mud will squirt out from underneath... best to scrape this back into the tub for now.
It might take a few goings over to make the paper firmly embed itself in the mud. Make sure the paper is not wrinkled in any way as this will affect subsequent coats.
This is your first coat completed....Yipee!
 |
| The paper tape embedded |
The second coat can get done straight away, just take a few dollops of mud and dash it on top of the paper at even intervals (about a golf ball size every 6 inches - but no need to be precise)
Now using the large 6 inch knife smooth out the mud to create as even and smooth a finish as you can mustre....
The joint filler is very maliable and can easily be worked for several minutes... if you don't get it right first time just keep going over it.
 |
| Wide knife applying 2nd coat |
Using a bit more mud again, you need to do a complete coat (about 2mm deep) over the filled area. Using only the widest spatula/knife and long smooth strokes, you need to smooth out the whole thing, this layer will be 6-10 inches wide as it will allow for the beveled edges of the plaster board.
Once this last coat is dry, you sand down the area (when you run your hand over it you should feel no bumps or gaps)
 |
| This is after the second coat...it is grey on grey with a hint of grey.... *Brilliant* |
Now your wall is ready for painting.
Woot!
This should be enough info for a taste of what the process involves, and even if you are only planning on tackling a small area.
But if you intend on taping an entire room I suggest you take a look at a few of youtube videos before you start... some of these guys make it look way to easy, but you get the idea of how it should be done.
The Nitty Gritty :
- Purdy 6 inch taping knife from ebay
- Gyproc ready-mix joint cement from B+Q (enough to do a whole room)
- Paper tape from B+Q (you'll find all the stuff together in store)
- Patience and time... I am running incredibly low so if you know of a good supplier give me a shout.
I was listening too:
It is a long an monotonous job I needed a mix of sing-a-long stuff but most especially Big Flo (AKA Florence and the machine) so I can do my Rockin'Diva thing... while on a step stool, wearing scabby old clothes :o/
Thank you, based on what you have said I'll be trying this.
ReplyDeleteThanks for the post, very informative. Wish me luck for tomorrow when I attempt this
ReplyDelete